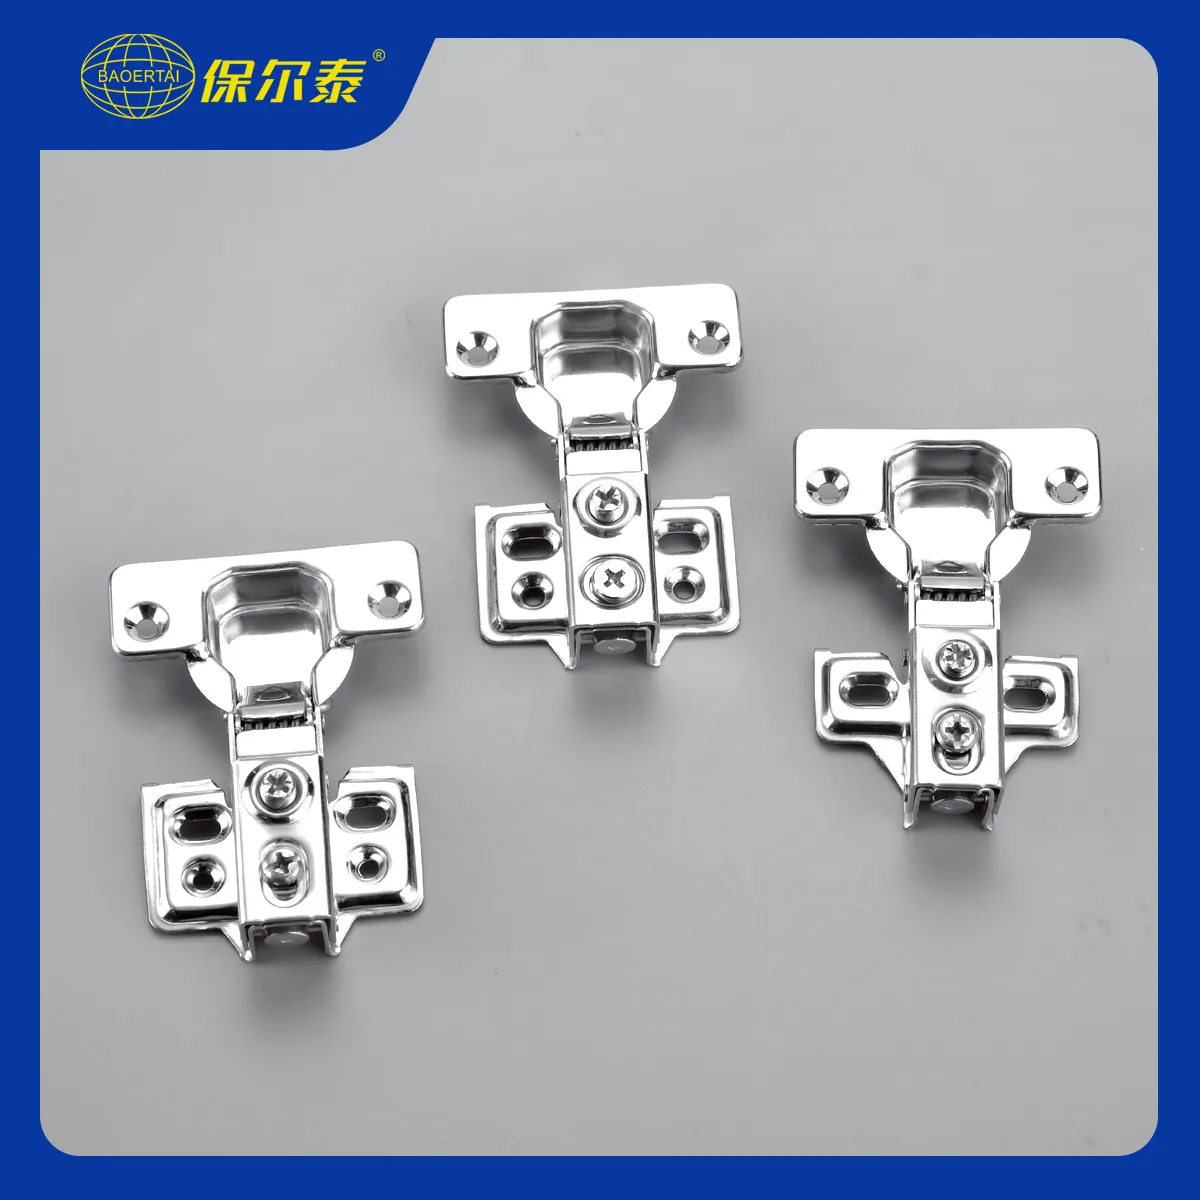
Drilling cabinet doors for hinges is one of the important steps in making a cabinet, which requires a great deal of precision. Whether you’re installing brand-new custom cabinet hinges on a new kitchen or just replacing old ones, there’s one way to do it right. Baoertai will walk you through how to drill the holes in cabinet doors to accommodate your custom cabinet door hinges perfectly.
Required Tools and Materials for Drilling Cabinet Door Hinge Holes
Before you begin, prepare the following necessary tools and materials:

- Electric drill, preferably with an adjustable speed feature
- Hinge drilling template (recommended to ensure accuracy)
- Tape measure or straightedge
- Pencil for marking
- Speed hole drill or Foster drill (select drill size according to hinge specifications)
- Clamps for securing cabinet doors
- Screwdriver to install hinges
- Wood filler (optional, for patching)
When using custom cabinet hinges, they may have specific hole requirements.
Step 1: Mark Hinge Locations
Measure and mark the location where the hinges will be installed. Normally, the standard mounting location is 3 to 4 inches from the top and bottom of the cabinet door, but this may vary depending on the type of hinge and cabinet design.
- Mark the hinge location on the edge of the cabinet door and on the cabinet frame using a straightedge or tape measure.
- Ensure that the location of the hinges is symmetrical and aligned for proper operation of the doors. Lightly mark, with a pencil, where the holes will be drilled.
- For custom cabinet door hinges, refer to the exact hole locations and sizes with the manufacturer’s instructions for confirmation.
Step 2: Setting the Drill Template
The drilling template is the tool that ensures the holes are placed and angled correctly. If using a drilling guide:
- Attach the drilling template to the cabinet door and align it with the previously marked locations.
- Ensure the template is securely clamped so that it does not move during drilling.
- Change the settings on the template according to the specifications of the custom cabinet hinges you will be using.
- Using a template guarantees complete accuracy and avoids common mistakes, such as offset hinge positions, which can affect the way the hinges perform.
Step 3: Drilling
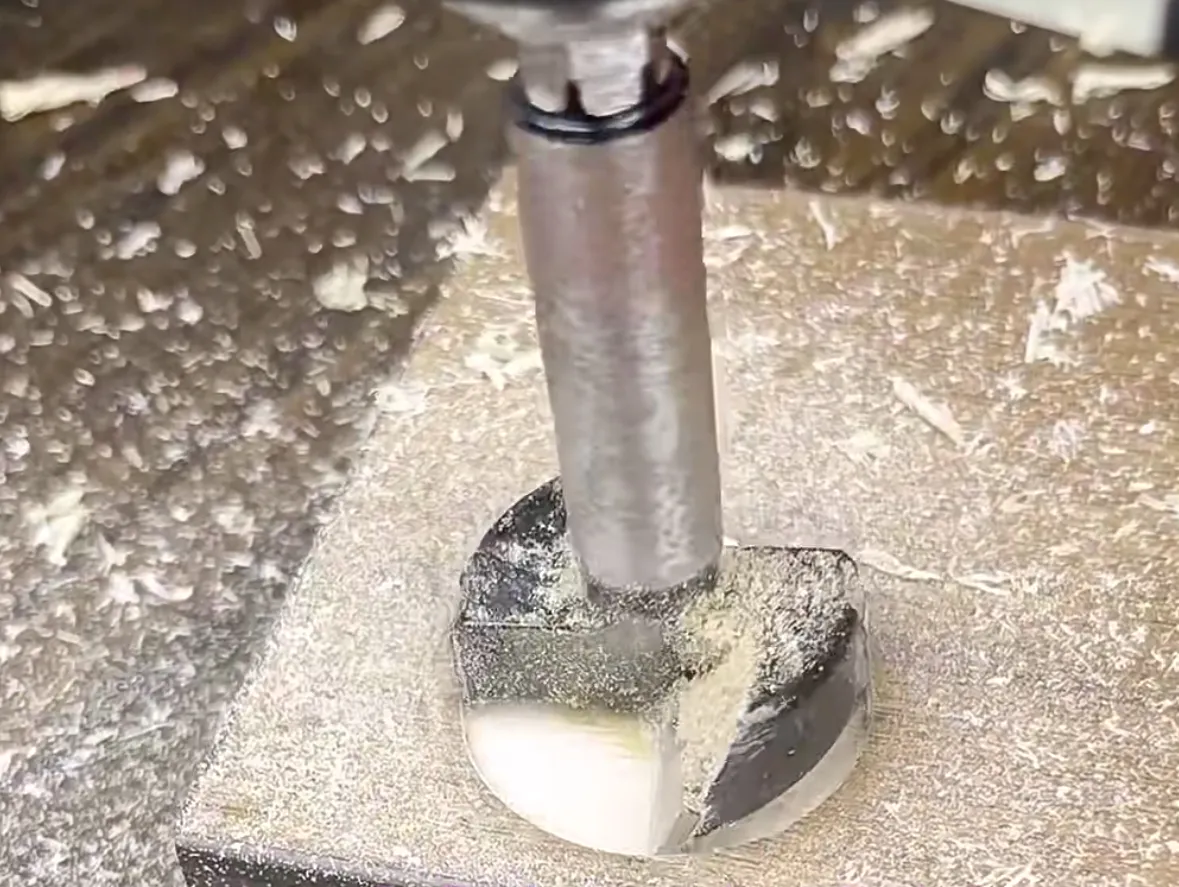
After having the template set, the next step will be drilling the holes. Proceed carefully with the steps outlined below:
- Select the right drill size for the type of hinge to be used. Normally, a Foster bit or speed hole drill is recommended since these two can drill flat-bottomed holes.
- Fix the drill bit to the drill and gently start drilling at a low speed in order not to damage the wood.
- Use a depth guide according to hinge specs; normally, a depth guide will come with custom cabinet door hinges in case one is unsure.
- Take your time when drilling, being accurate in hole placement and making smooth holes. Don’t drill too deep or not deep enough-that might weaken the wood and make for ill-fitting hinges.
Step 4: Test Cabinet Hinge Fit
After making the holes, test your hinges to see that they are perfect:
- Insert the hinge into the drilled hole and ensure it is well seated.
- Check the alignment of the hinge with regard to the cabinet frame and the door.
- If necessary, adjust the holes by lightly sanding or using a drill bit that is slightly larger.
- This step is pretty important, especially when using custom cabinet door hinges, as any minor adjustments may affect the effectiveness and durability of the hinges.
Step 5: Install Cabinet Hinges
Once you have identified that the holes and hinges go well, then you are at liberty to install them as follows:
- Align the hinge with the drilled holes and screw the screws into the hinge holes using a screwdriver.
- Tighten the screws evenly but avoid overtightening to avoid damage either on the wood or the hinge.
- Install the hinge securely to hold up the weight of the cabinet door. The securely installed hinge will make sure that the door opens and closes with smoothness and reliability.
Step 6: Install the Door
With the hinges in place, you can now mount the cabinet doors to the cabinet frame:
- Place the cabinet door into the frame, making sure the hinges line up with the pre-drilled holes of the frame.
- Put screws through the hinge plate and just snug them lightly.
- Check to see that the cabinet door operates properly, then tighten totally. Make fine adjustments if necessary.
Conclusion
Drilling holes for custom cabinet hinges may seem like a daunting task, but with the right tools, accurate measurements, and patience, you can achieve a professional result. Whether you’re remodeling your kitchen or creating custom cabinetry, following these steps will ensure that your hinges are perfectly aligned and the cabinet doors function smoothly.
Remember, precision and attention to detail are crucial when working with custom cabinet hinges to achieve a clean, durable finish. With practice, you’ll master the process and be able to tackle even the most complex cabinetry projects.


